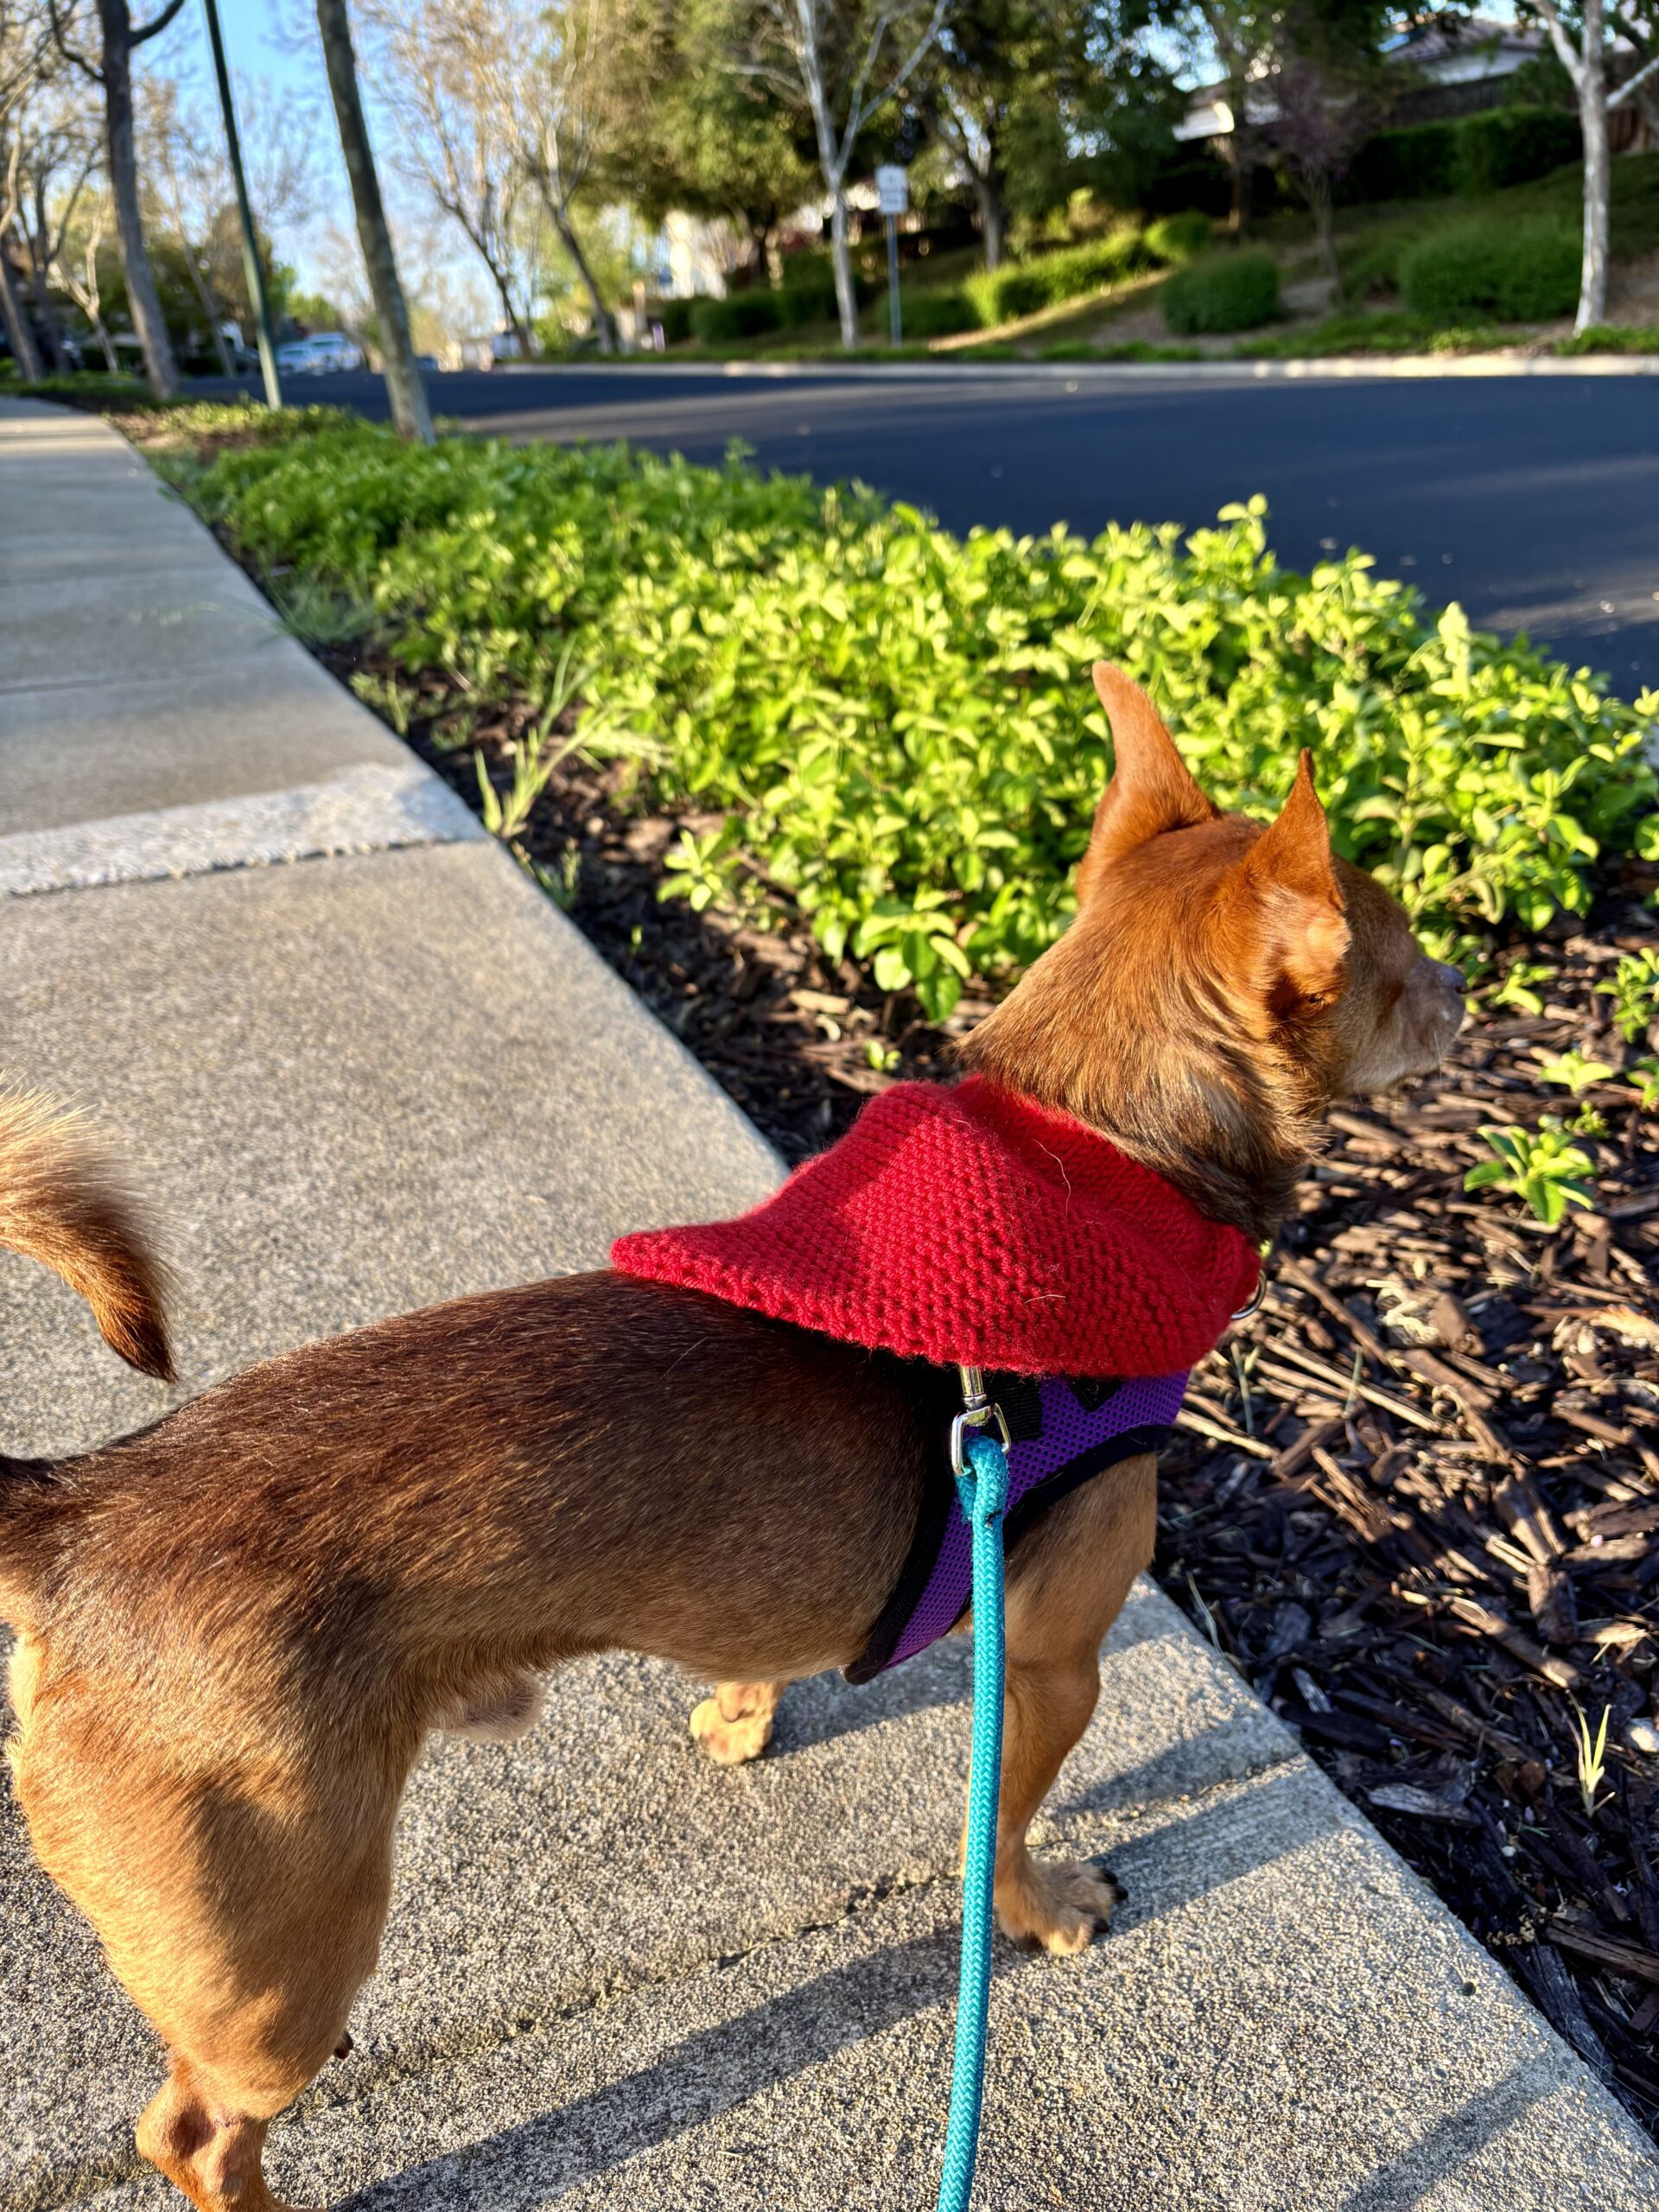
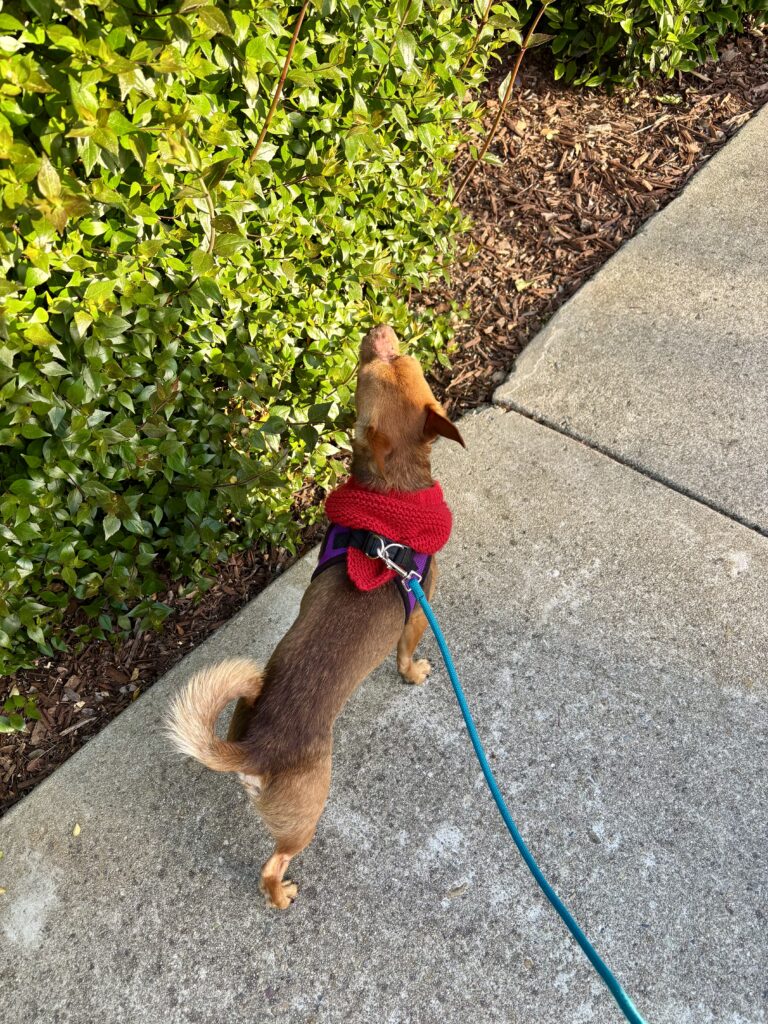
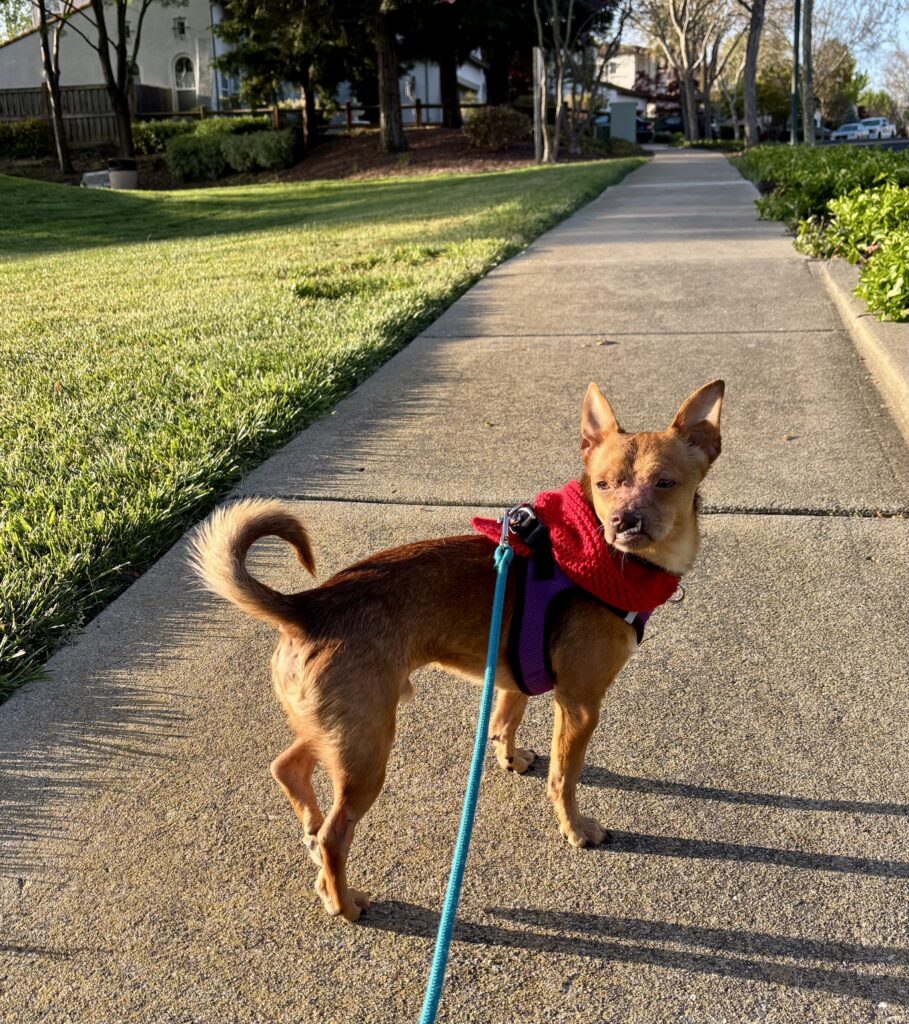
Little Jimmy sported his new Sweater Bandana this weekend! Handknitted to match my Sweater in the Most Beautiful Red, the striking red color practically glowed in the morning sun. This was such a fun and quick knitting project — and I love that Jimmy and I have matching sweater knits!
The bandana is worked in a simple garter stitch that keeps the sides from curling. A band worked in flat stockinette stitch is folded and sewn to form a tube through which the collar is threaded. Sized to fit a 12-pound chihuahua mix dog, I used leftover bits of Woolfolk Tov yarn — less than half of a skein — and size 7 knitting needles.
When walking or running, the bandana tends to shift around, even though it is attached to the collar. So tucking the tip into a harness works well to keep things neat and tidy!
The Sweater Bandana is designed to attach to a collar, so I measured the length and width of Jimmy’s collar. The collar width determines how wide the stockinette band should be and the collar length determines how wide the finished bandana should be (could be a bit wider than the collar length but should not be too much wider).
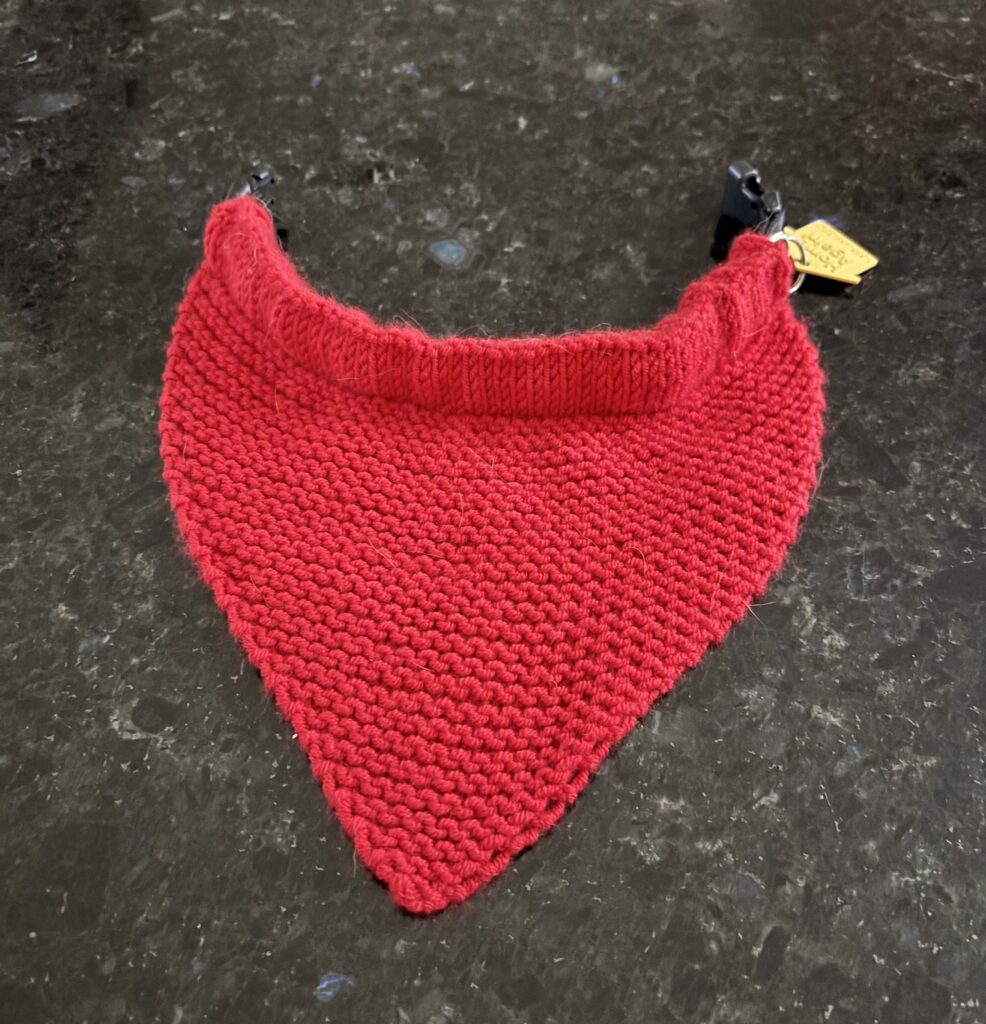
Starting at the bandana tip, the piece is worked from the bottom to the top, ending with the stockinette band. The length of the bandana (measurement from the tip to the widest part) can be customized depending on how long you want the finished piece to be. However, the widest part of the bandana forms the stockinette band and is threaded through the collar, so if it is much longer than the collar, it will bunch up and get too bulky.
Sweater Bandana Instructions
- Cast on 3 stitches.
- Slip first stitch knitwise. Knit 1. Knit in the front and back of the last stitch. Turn.
- Slip first stitch knitwise. Knit until 1 stitch remains. Knit in the front and back of the last stitch. Turn.
- Continue slipping the first stitch, knitting across, and increasing on the last stitch of each row until you reach the desired length and width.
The stockinette band has three components: a band front, a purl ridge, and a band facing.
- For the stockinette band front: Start with the right side of your work facing you. Knit across. Turn.
- On the wrong side, knit 1 and purl across until 1 stitch remains. Knit 1. Turn.
- Repeat instructions #1 and #2 until the band height accommodates the width of the collar.
- For the purl ridge: With the right side of your work facing you, knit 1 then purl across until 1 stitch remains. Knit 1. Turn. Working a purl row on the right side of your work creates a nice ridge when the band is folded.
- For the stockinette band facing: On the wrong side, knit 1 and purl across until 1 stitch remains. Knit 1. Turn.
- On the right side, knit across. Turn.
- Repeat instructions #5 and #6 until the the band height for the facing matches the front. Bind off all stitches.
- Fold the facing to the inside of the bandana using the purl ridge as a guide. Stitch down to form a tube. Tie off ends.
- Thread the dog collar through the tube.
- Finished!
Leave a Reply
You must be logged in to post a comment.