It’s finished! My first project using the Alabama Chanin reverse applique technique is done and dusted!
The skirt is made up of four identical panels. Each panel has a slight flare at the hem, giving the skirt a nice A-line shape when stitched together. The hem is left unfinished, as the jersey knit fabric will not ravel and will, in fact, create a natural finished roll after washing. The waistband is finished with foldover elastic that is stitched down using a hand-worked zig-zag stitch (I used a bright pink thread here as an accent).
I love the color combination — navy blue and cream — as it is such a classic pairing. I used a blue-gray thread for all of the hand-stitching, which stands out in a quiet way.
The fabric is cotton jersey, which is really easy to work with, doesn’t ravel, and is super soft to wear. Stitching two layers of jersey together with a lot of decorative stitching is like magic — it creates a new fabric that is more substantial and more beautiful than the originals.
Stitching the Reverse Applique Design
After painting the design onto one fabric layer and letting it dry, I was ready to start stitching the two layers of fabric together! Using doubled button-weight thread, I used a simple running stitch around each painted design. I worked from the top (waist) and down to the hem. I definitely need to practice hand-stitching, as it was so difficult to keep the stitches even!
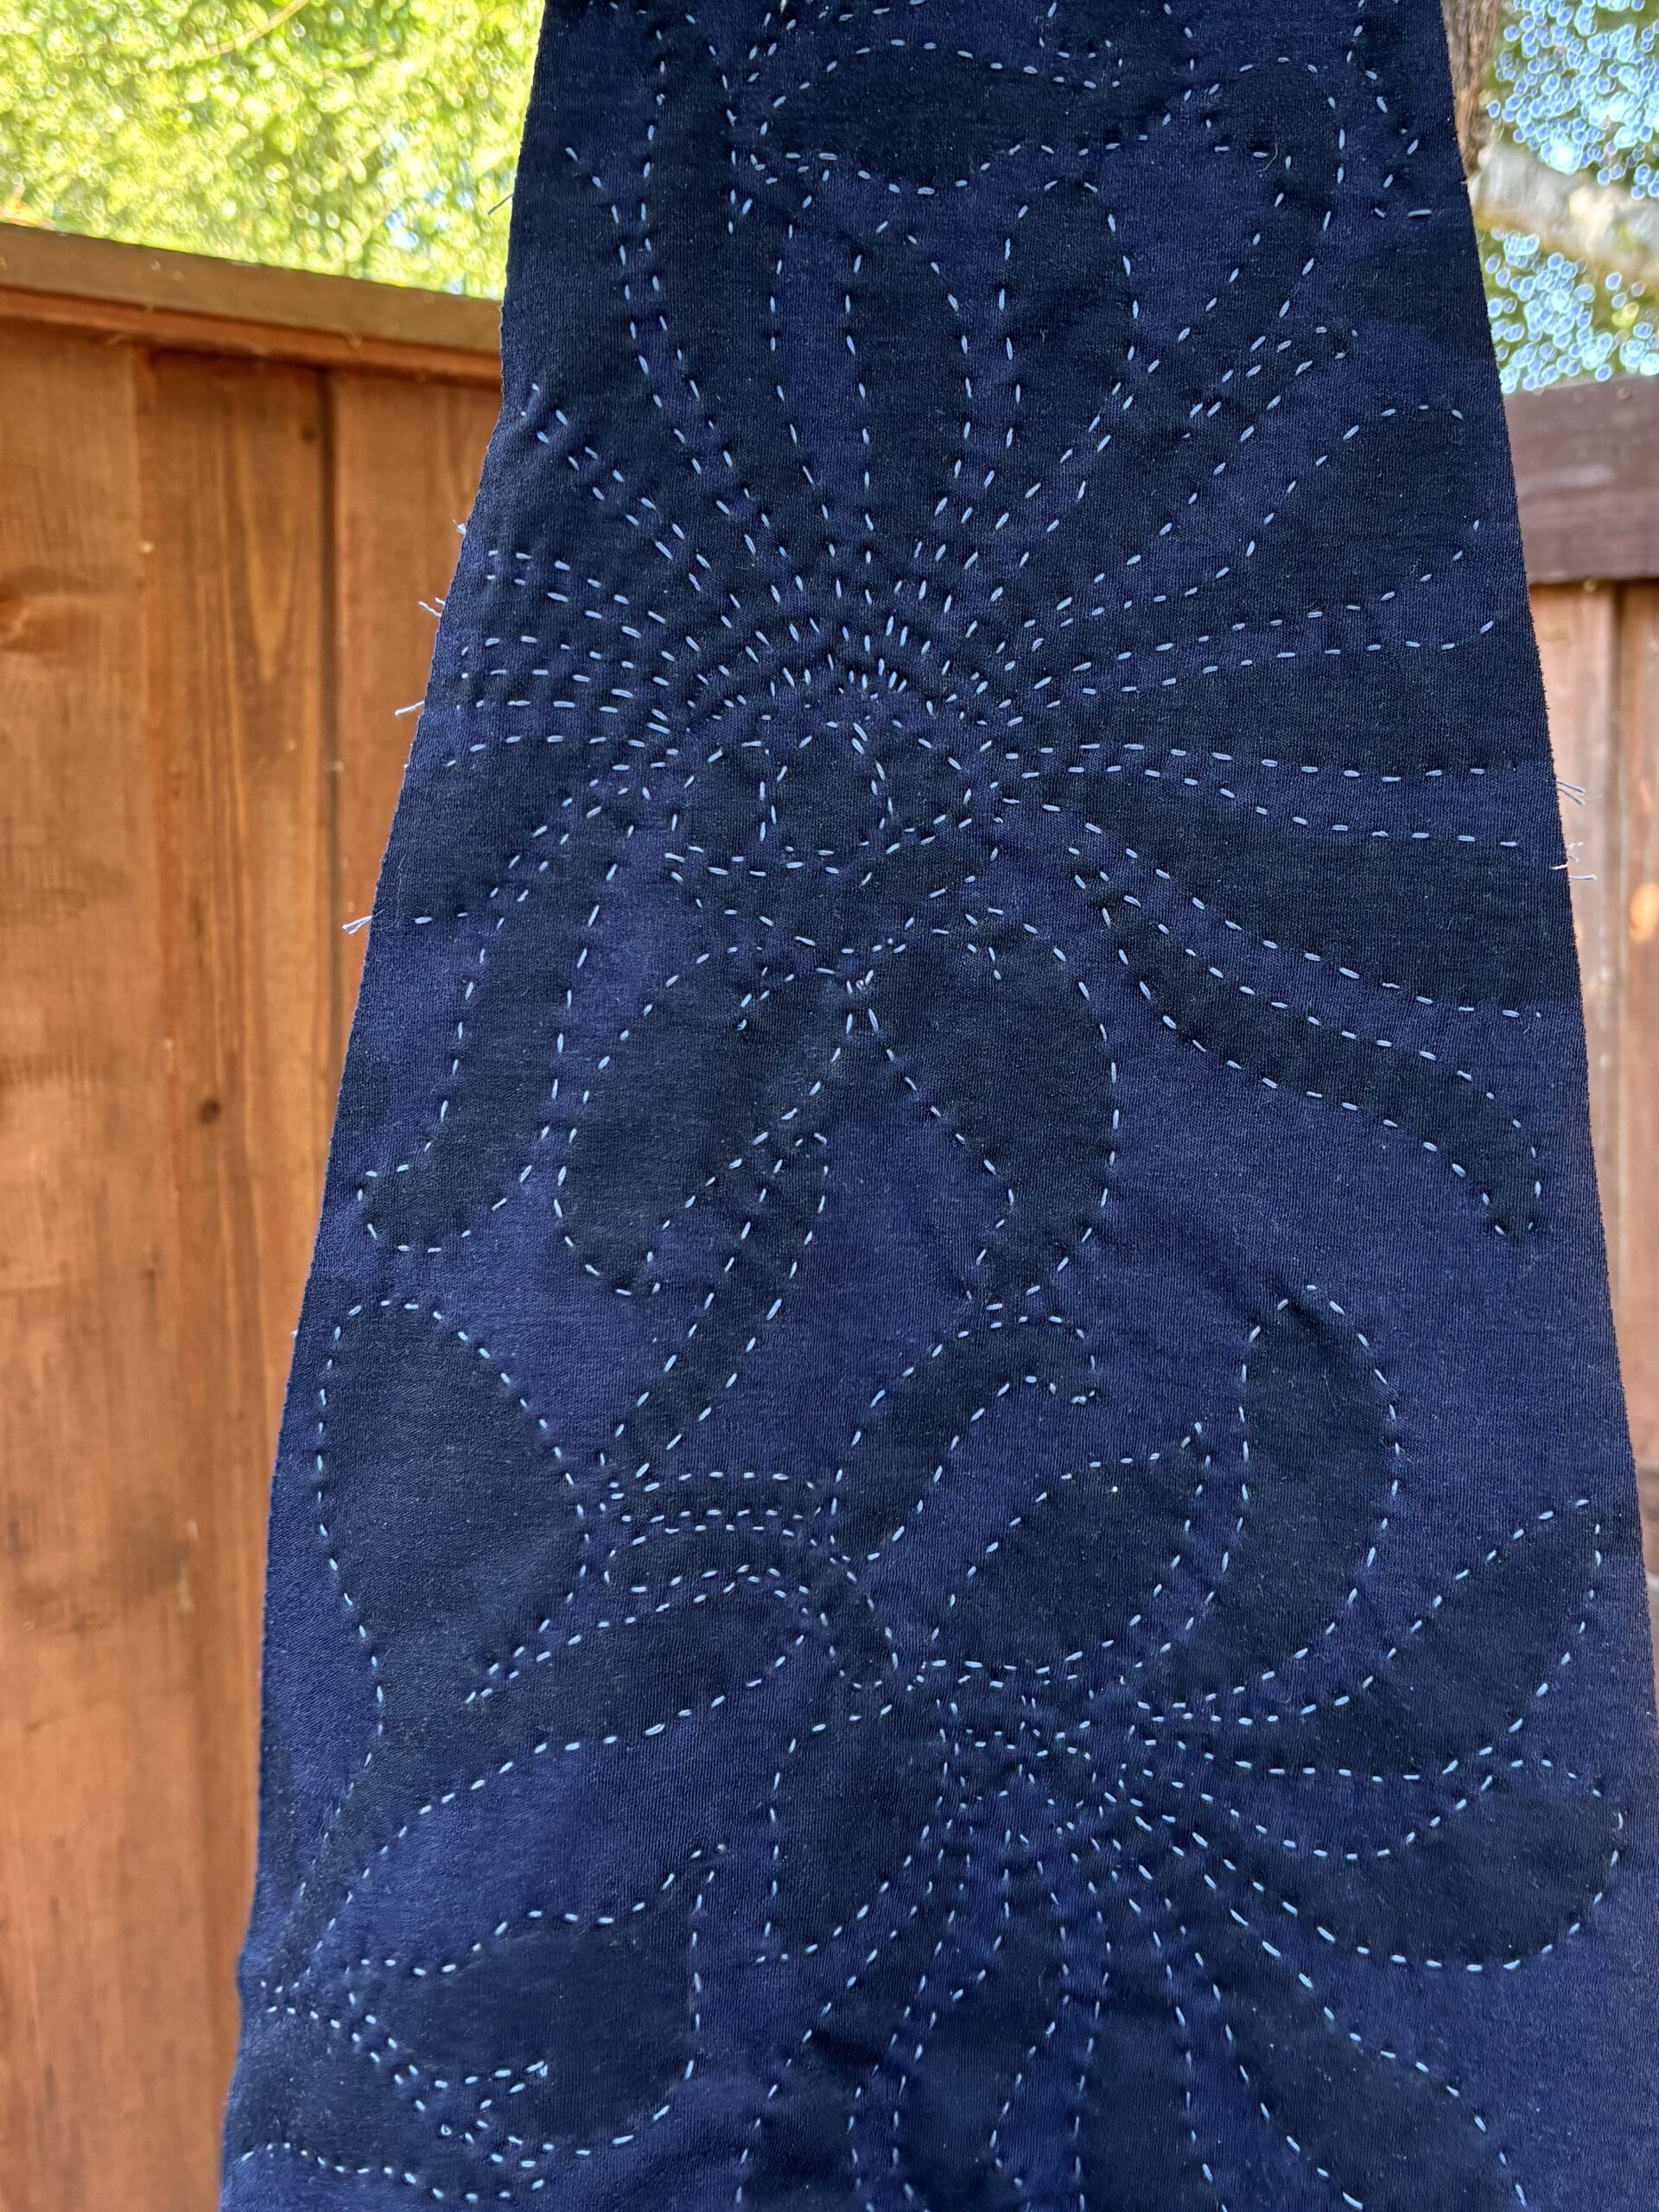
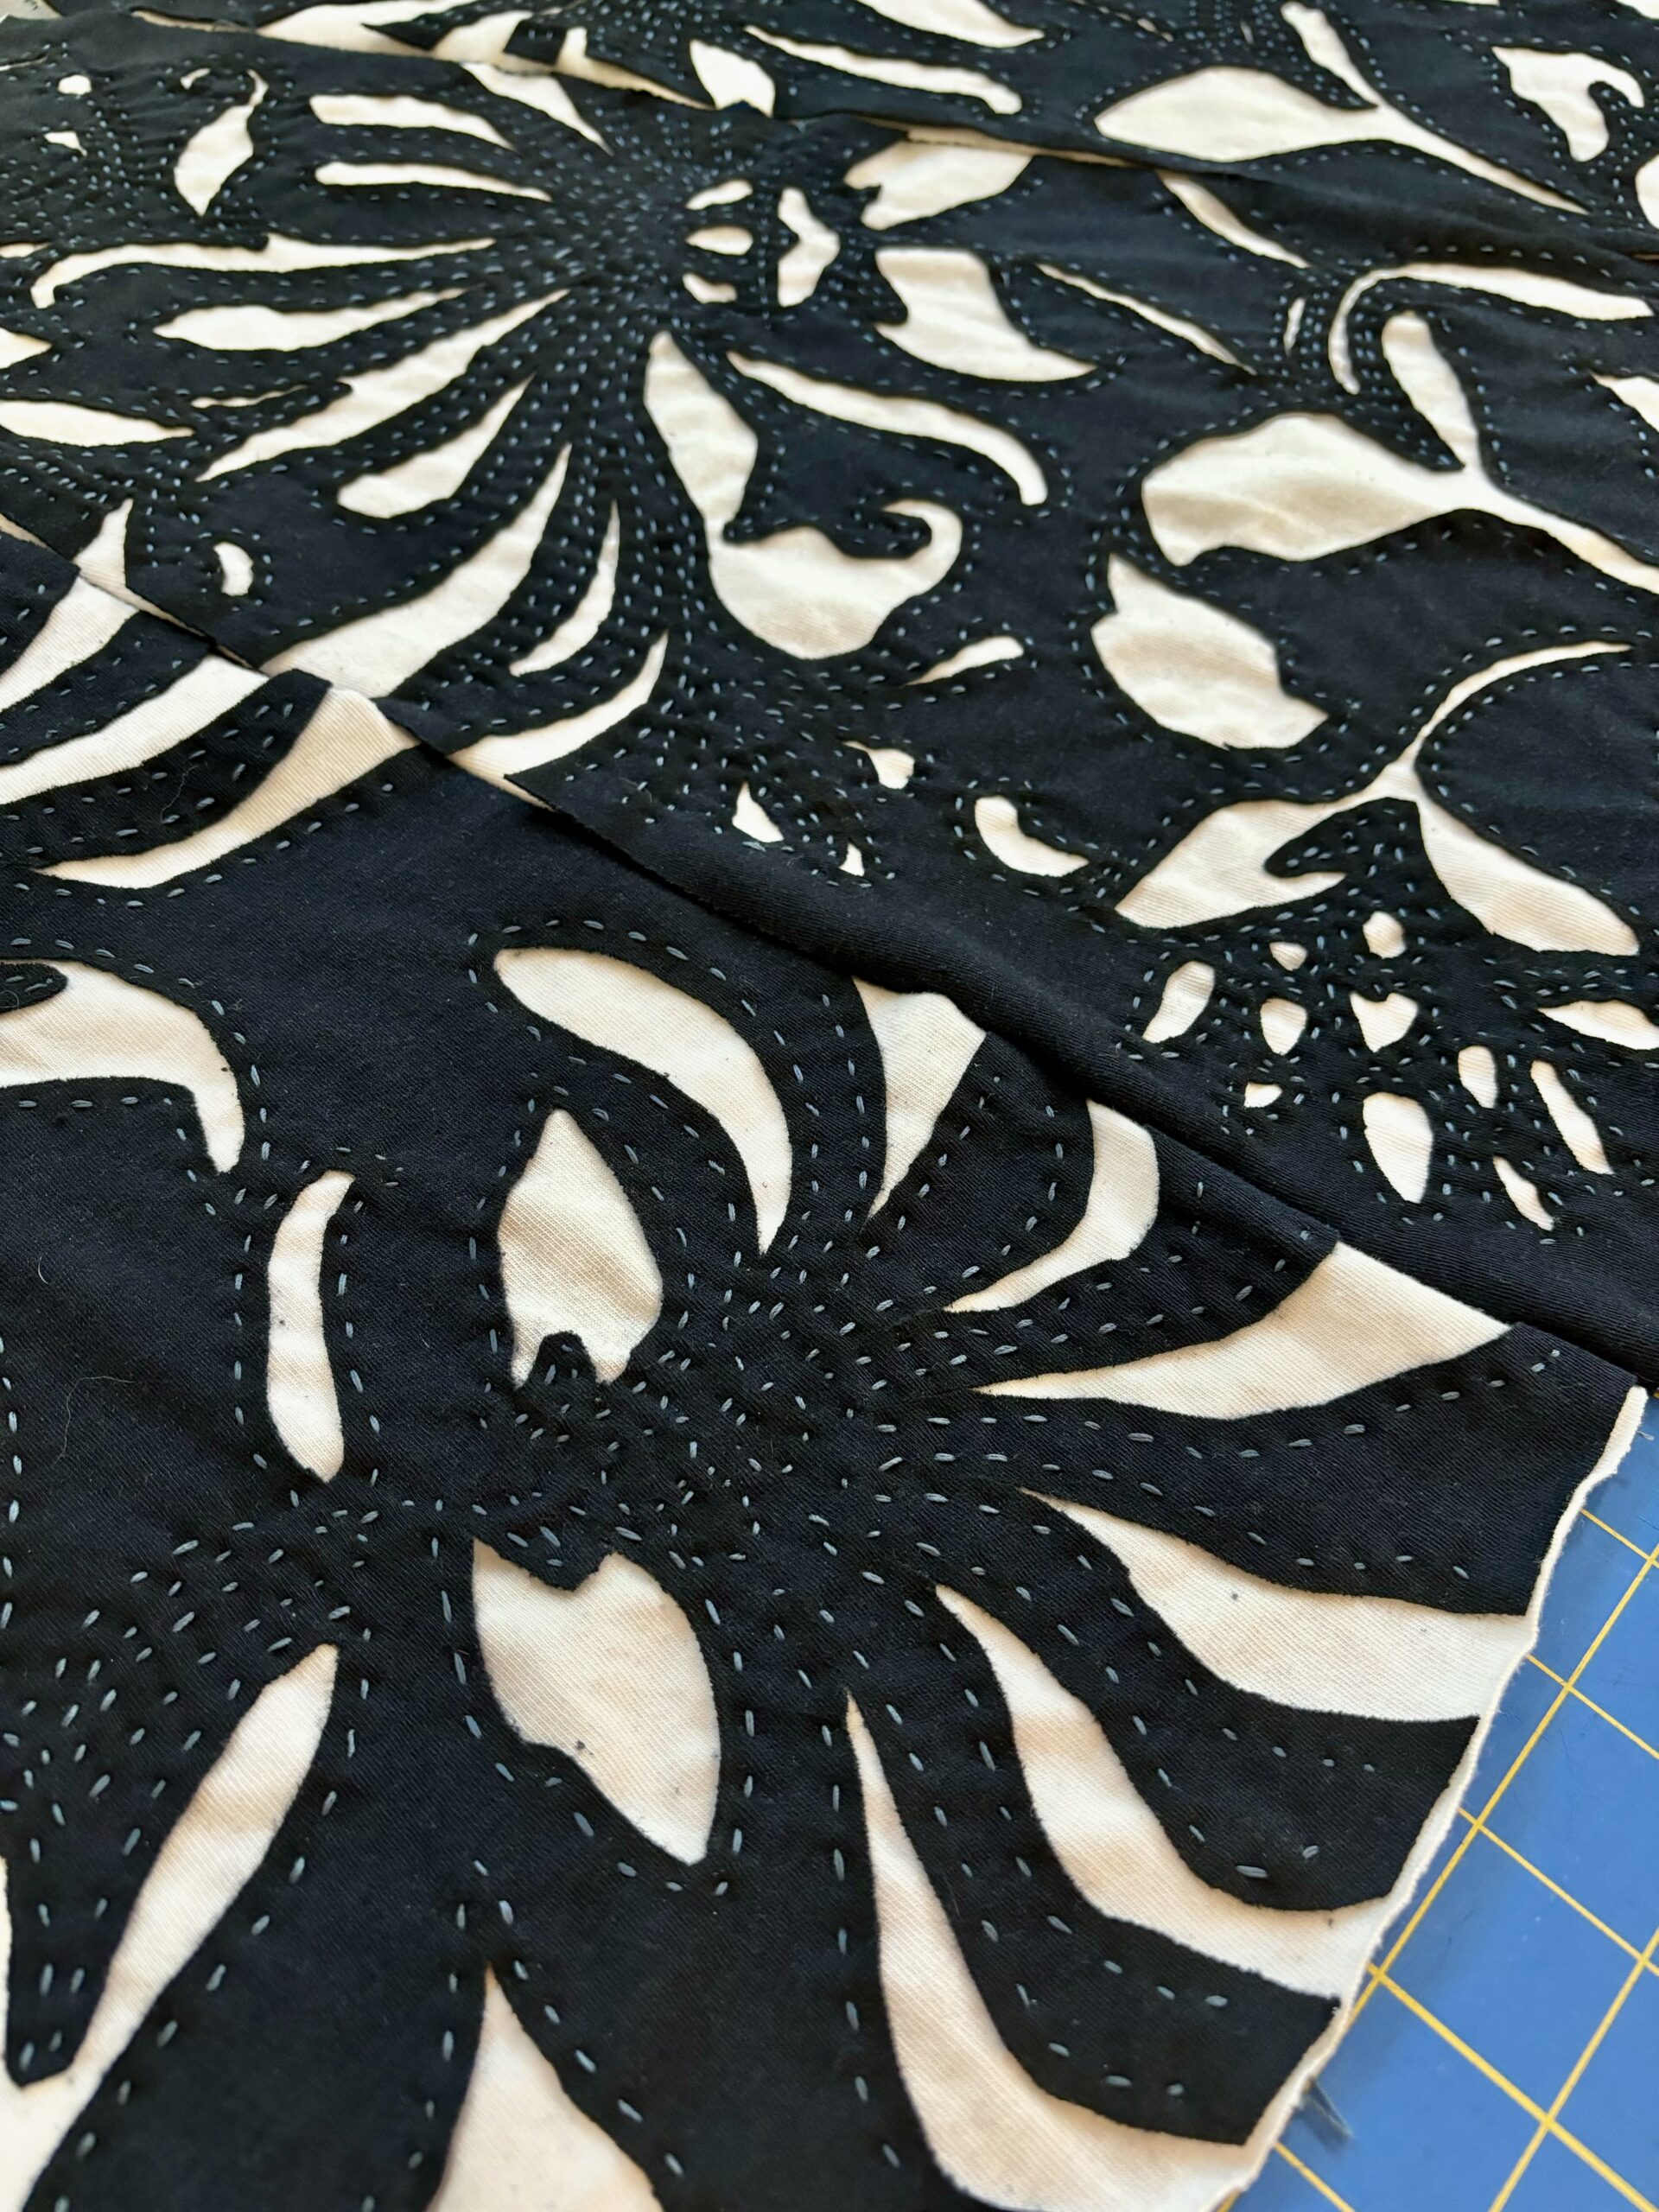
Close-up of the stitching around the painted design. I used black paint for the design, which made it difficult to see in certain light. I think a lighter color may have worked better.
Cutting the Reverse Applique Design
Now for the most nerve-wracking part of the process — cutting within the stitching lines but only cutting the top layer of fabric. Careful cutting using small embroidery scissors was the way to go.
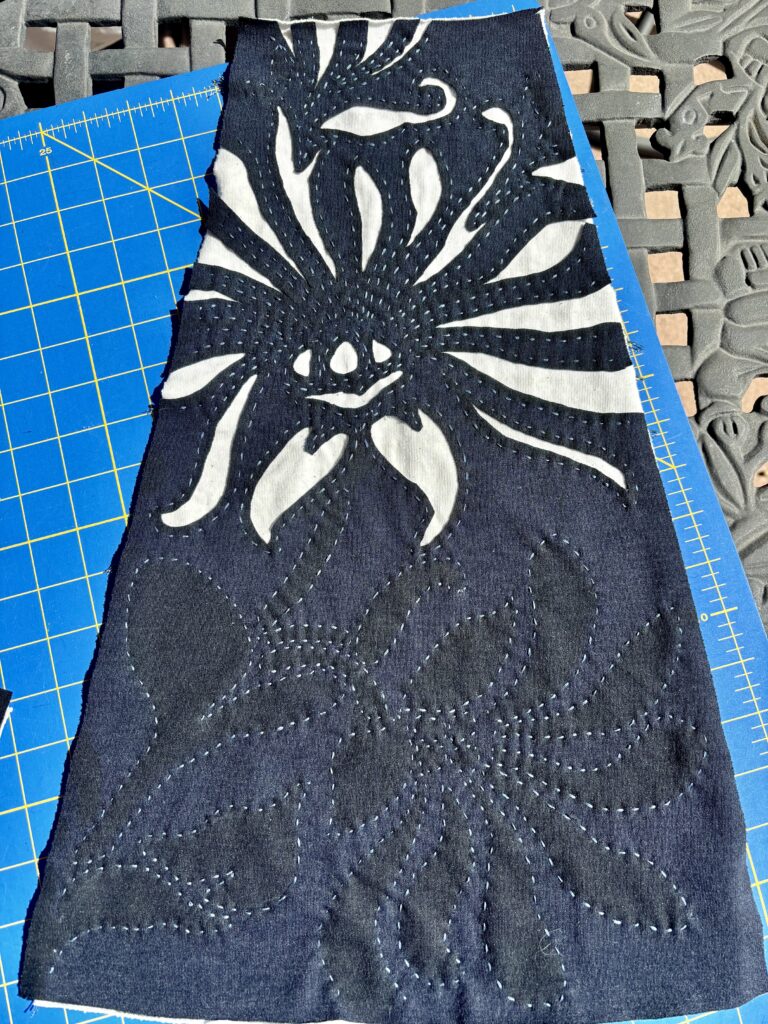
A thin border of the painted fabric remains after cutting, so choosing a complementary paint color would be another cool design opportunity. The “reveal” of the bottom fabric layer is so beautiful!
Checking the Fit and Stitching the Skirt
After the four panels were stitched and cut, it was time to pin the seams and check the fit. Because the skirt is made of cotton jersey, it has stretch and is very forgiving, but I found that I needed an extra inch to feel truly comfortable. I decided to add a 1-inch strip of navy blue fabric on each side seam (0.25-inch seam allowance would give me an extra 0.5 inches on each side seam.
The seams were sewn by hand using the same running stitch. To strengthen the seams, I flat-felled them as well.
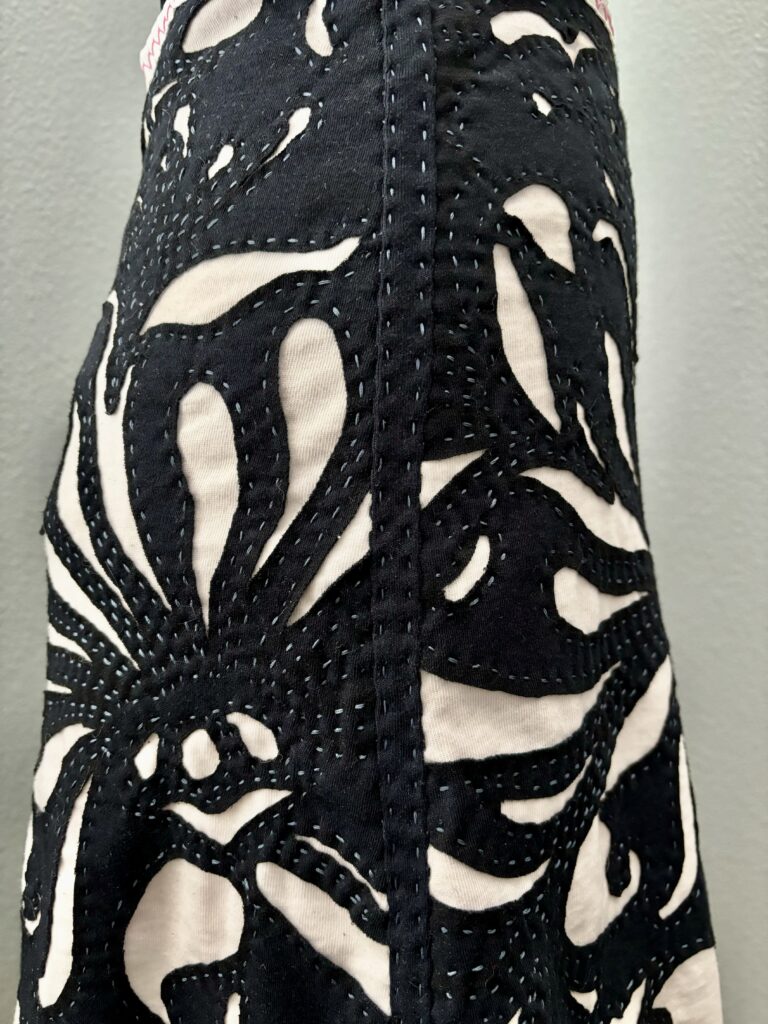
Here is a close up of the extra band of fabric at the side seam. I actually really like how it adds definition to the side seam!
Adding Elastic to the Waist
The waistband is foldover elastic that is hand-stitched using a zig-zag stitch. After basting the elastic to the skirt and leaving a 1-inch overlap at center back, I marked the zig zag stitch placement using a fabric pen and stitched the design using bright pink thread.
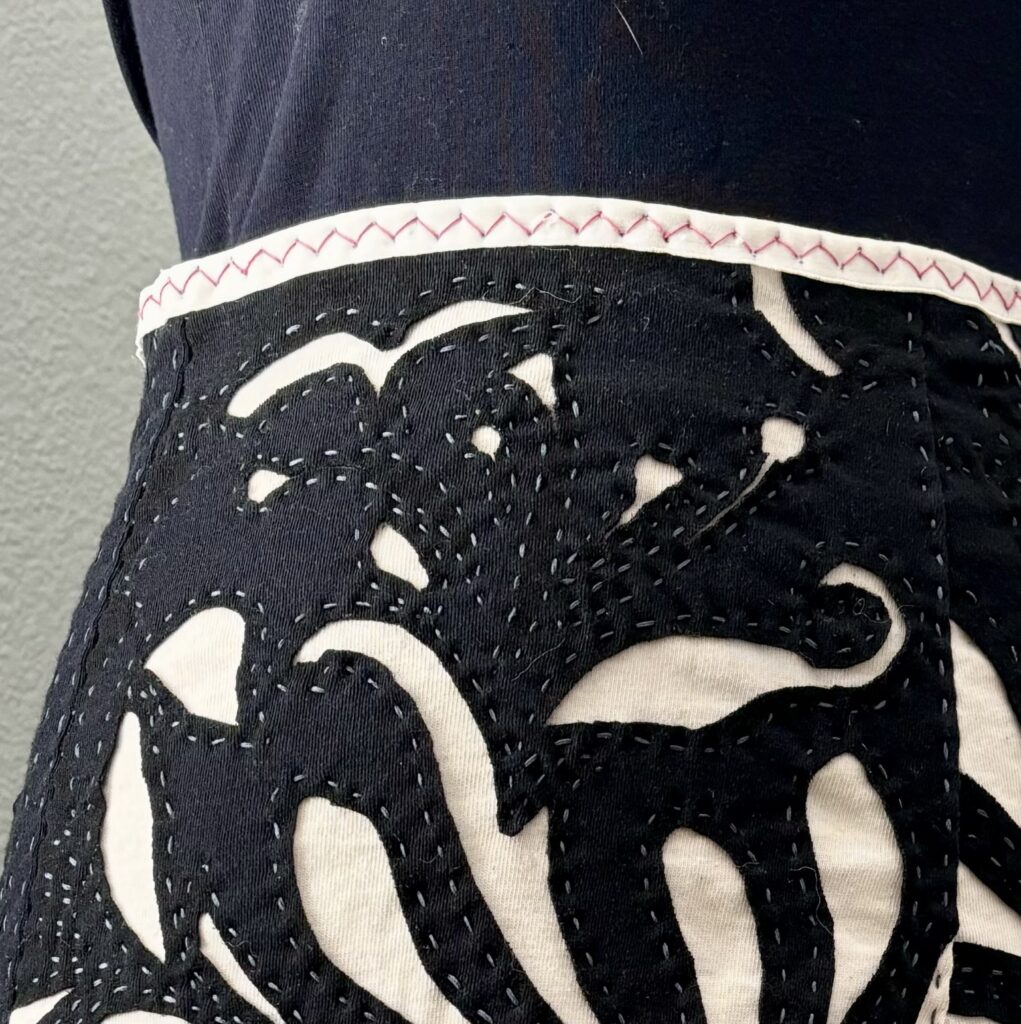
The zig-zag stitch gives decorative but also has some elasticity, which makes it a great choice for stitching an elastic waistband.
Final Thoughts
I am so thrilled with the skirt! The reverse applique technique takes time and care to do, but the result is just stunning. Alabama Chanin offers embellishment ideas — beads, sequins, and additional embroidery — to make the garments even more special. Customization ideas are endless!
Leave a Reply